Unity FPSコントローラー
FPS(またはファーストパーソンシューティングゲーム)は、主人公を一人称視点で操作するゲームです。
通常の操作は、歩くには W、A、S、D、見回すには Mouse Look、ジャンプには Space、ダッシュには左シフトで、プレイヤーはレベル内を自由に 移動できます。
この投稿では、カメラの回転とプレイヤーの動きを処理する FPS コントローラーを Unity で作成する方法を説明します。
手順
FPS コントローラーを作成するには、次の手順に従います。
- 新しいゲームオブジェクト(GameObject -> Create Empty)を作成し、名前を付けます。 "FPSPlayer"
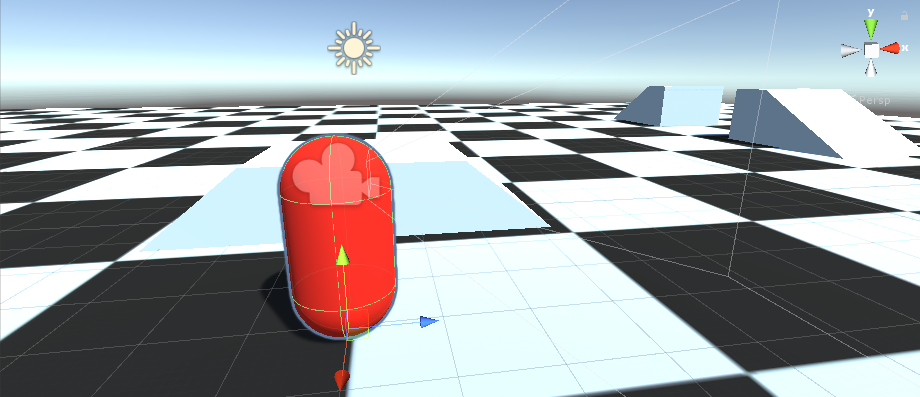
- 新しいカプセル(ゲームオブジェクト -> 3Dオブジェクト -> カプセル)を作成し、"FPSPlayer"オブジェクト内に移動します。
- CapsuleからCapsule Colliderコンポーネントを削除し、その位置を(0, 1, 0)に変更します。
- メインカメラを"FPSPlayer"オブジェクト内に移動し、位置を(0, 1.64, 0)に変更します。

- 新しいスクリプトを作成し、"SC_FPSController" という名前を付けて、その中に以下のコードを貼り付けます。
using System.Collections;
using System.Collections.Generic;
using UnityEngine;

[RequireComponent(typeof(CharacterController))]

public class SC_FPSController : MonoBehaviour
{
    public float walkingSpeed = 7.5f;
    public float runningSpeed = 11.5f;
    public float jumpSpeed = 8.0f;
    public float gravity = 20.0f;
    public Camera playerCamera;
    public float lookSpeed = 2.0f;
    public float lookXLimit = 45.0f;

    CharacterController characterController;
    Vector3 moveDirection = Vector3.zero;
    float rotationX = 0;

    [HideInInspector]
    public bool canMove = true;

    void Start()
    {
        characterController = GetComponent<CharacterController>();

        // Lock cursor
        Cursor.lockState = CursorLockMode.Locked;
        Cursor.visible = false;
    }

    void Update()
    {
        // We are grounded, so recalculate move direction based on axes
        Vector3 forward = transform.TransformDirection(Vector3.forward);
        Vector3 right = transform.TransformDirection(Vector3.right);
        // Press Left Shift to run
        bool isRunning = Input.GetKey(KeyCode.LeftShift);
        float curSpeedX = canMove ? (isRunning ? runningSpeed : walkingSpeed) * Input.GetAxis("Vertical") : 0;
        float curSpeedY = canMove ? (isRunning ? runningSpeed : walkingSpeed) * Input.GetAxis("Horizontal") : 0;
        float movementDirectionY = moveDirection.y;
        moveDirection = (forward * curSpeedX) + (right * curSpeedY);

        if (Input.GetButton("Jump") && canMove && characterController.isGrounded)
        {
            moveDirection.y = jumpSpeed;
        }
        else
        {
            moveDirection.y = movementDirectionY;
        }

        // Apply gravity. Gravity is multiplied by deltaTime twice (once here, and once below
        // when the moveDirection is multiplied by deltaTime). This is because gravity should be applied
        // as an acceleration (ms^-2)
        if (!characterController.isGrounded)
        {
            moveDirection.y -= gravity * Time.deltaTime;
        }

        // Move the controller
        characterController.Move(moveDirection * Time.deltaTime);

        // Player and Camera rotation
        if (canMove)
        {
            rotationX += -Input.GetAxis("Mouse Y") * lookSpeed;
            rotationX = Mathf.Clamp(rotationX, -lookXLimit, lookXLimit);
            playerCamera.transform.localRotation = Quaternion.Euler(rotationX, 0, 0);
            transform.rotation *= Quaternion.Euler(0, Input.GetAxis("Mouse X") * lookSpeed, 0);
        }
    }
}- SC_FPSController スクリプトを "FPSPlayer" オブジェクトにアタッチします (Character Controller という別のコンポーネントも追加されていることがわかります。その中心値を (0, 1, 0) に変更します)
- SC_FPSControllerのPlayer Camera変数にメインカメラを割り当てます。
FPSコントローラーの準備ができました!